by IngridBarlow | Jan 19, 2017 | Crafting Concoctions, Homeschool
The boys have been rocking their Read Aloud Revival 31 Day Challenge, {I blogged about it here}, so we celebrated by using one of the coupons they (RAR) provided. Donuts! On a Sunday morning before church. What could be better?? Donuts on Sunday mornings seems to...
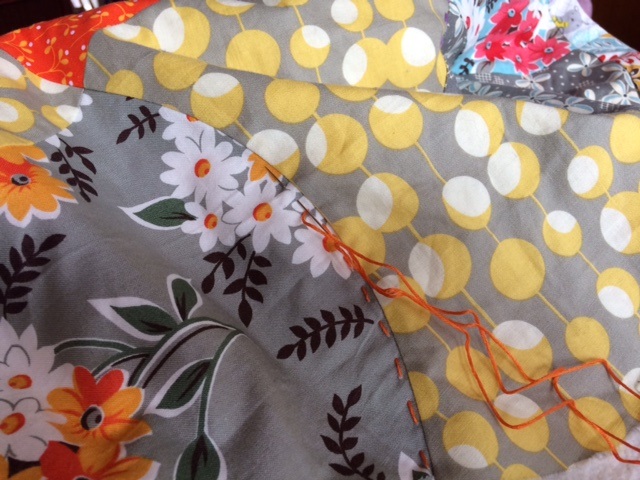
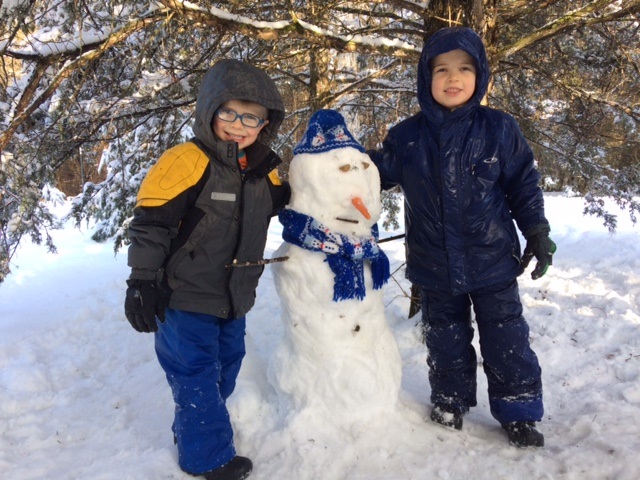
by IngridBarlow | Jan 17, 2017 | Crochet, Daily Quilting or Crafting Projects, Homeschool
I have been spending way too much time with the hot water bottle lately. Oh we have been hit hard. That is one of the lovely benefits to homeschool though. Sick days are whatever you want them to be. You keep plugging away and blowing your nose every few minutes or...
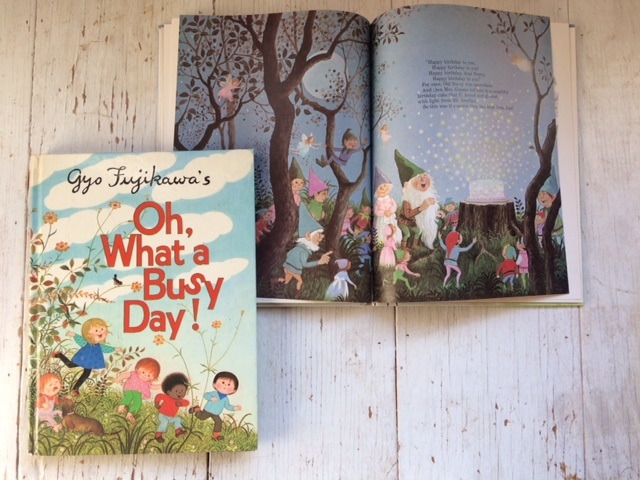
by IngridBarlow | Jan 13, 2017 | Favorite Reads
I thought since yesterday I shared with you some of my favorite ways to encourage your young readers, today I’d share some of our favorite books. There are so many FANTASTIC books out there, so these are books that I pulled from my brain and our collection just...
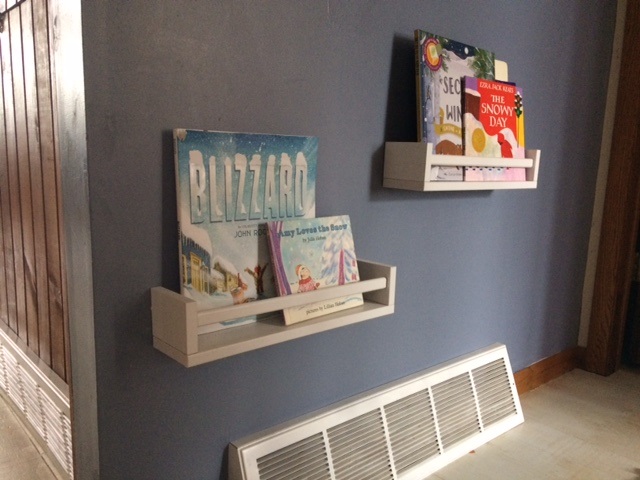
by IngridBarlow | Jan 11, 2017 | Favorite Reads, Homeschool, Simply Domestic
One of my top priorities as a mom is helping my kids develop a LOVE for reading. I think it is so hugely valuable…they can go on adventures/time travel, even to made-up lands like Narnia…they develop sympathy and compassion for people like them and...
by IngridBarlow | Jan 10, 2017 | Homeschool
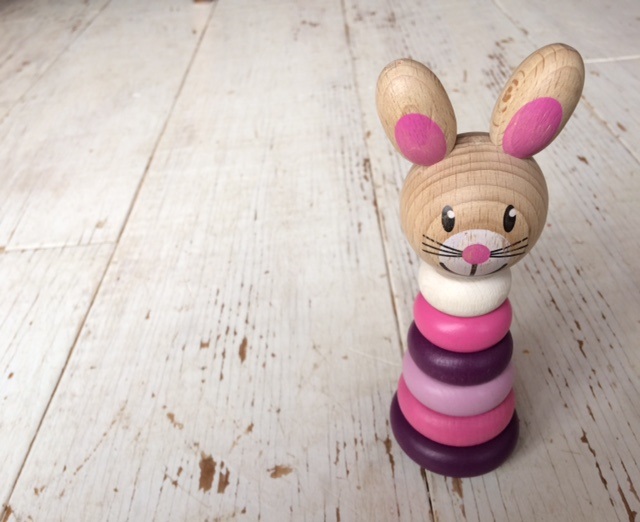
Bergen. 2 1/2. She has made me want to have 5000 girls. She has driven me crazy. The easiest in some ways, the hardest in others. We fondly refer to her as “The Bergenator.” This little stacker bunny has come in handy with learning biggest/littlest and...