by IngridBarlow | Jan 19, 2017 | Crafting Concoctions, Homeschool
The boys have been rocking their Read Aloud Revival 31 Day Challenge, {I blogged about it here}, so we celebrated by using one of the coupons they (RAR) provided. Donuts! On a Sunday morning before church. What could be better?? Donuts on Sunday mornings seems to...
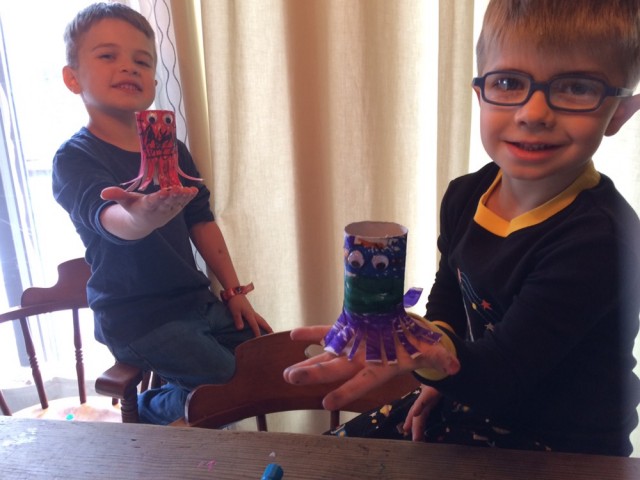
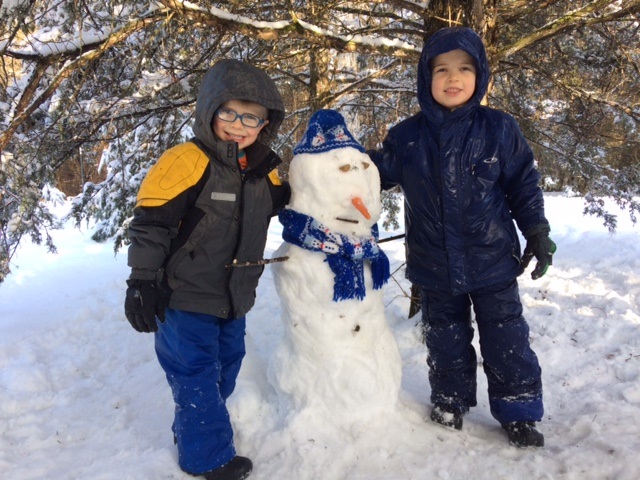
by IngridBarlow | Jan 3, 2017 | Crafting Concoctions, Homeschool
With the start of a new year, I thought I’d share a bit more about what goes on in our homeschool days. Homeschooling is such a curious thing…those of us already homeschooling always want to know what fellow homeschoolers are doing…and those of us...
by IngridBarlow | Mar 25, 2016 | Crafting Concoctions, Homeschool
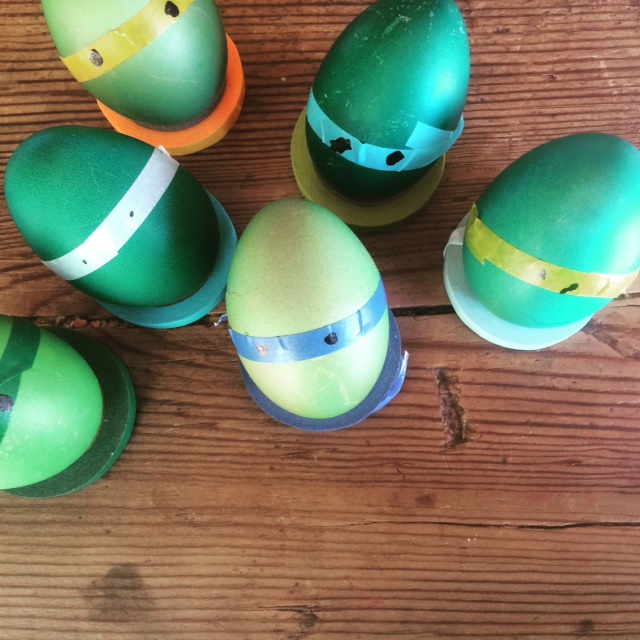
Yesterday, we got our math, reading, and writing done right away in the morning. So that meant we got to spend the rest of the day thinking about Easter projects. {Trying to promote the benefits of getting work done first thing! Sometimes I’m a waaay better...
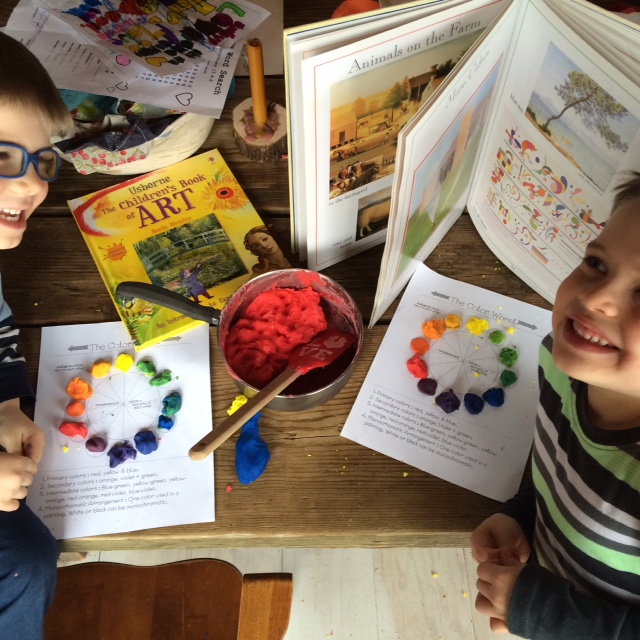
by IngridBarlow | Mar 24, 2016 | Crafting Concoctions, Homeschool
We are big playdoh fans around here. I’m not one to shy away from a little mess and it keeps the kids entertained for LONG periods of time. All ages like it. BAM! I’m a fan. I came across this great color wheel activity and knew we had to do it sooner than...
by IngridBarlow | Apr 15, 2014 | Crafting Concoctions, Quilts, Simply Domestic
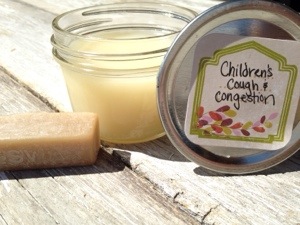
For some time I’ve been wanting to try making a natural version of Vicks VapoRub. The boys are just coming off a nasty cough and so today I finally looked up some recipes and whipped some up. {I little late on this cold, but I’ll be prepared for the next...

by baring0220 | Apr 8, 2014 | Crafting Concoctions, Crochet, Daily Quilting or Crafting Projects, Gardening, Good on the tastebuds, Homestead Life, knitting
Another video blog this week! Videos are just so much more personal and up-close. 🙂 Enjoy! Granola Recipe. (I forgot to mention that the recipe also has brown sugar and cinnamon in it!) Crockpot Yogurt. Daily Bread. (Uses whey from...