by IngridBarlow | Jan 6, 2017 | Good on the tastebuds, Homeschool, Simply Domestic, Uncategorized
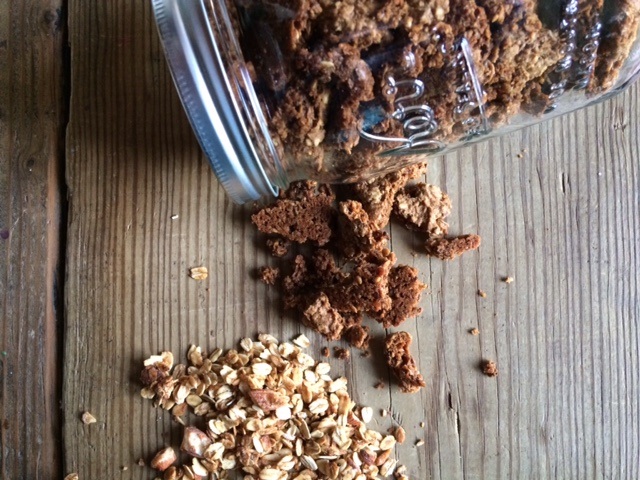
Breakfast is kind of special to me. It’s quiet time before the day begins. I use “quiet” loosely here, but it is a time that I try to re-group and prepare mentally for the day ahead. Since I read to the family when they eat, it means that I...
by IngridBarlow | Mar 11, 2016 | Homeschool, Uncategorized
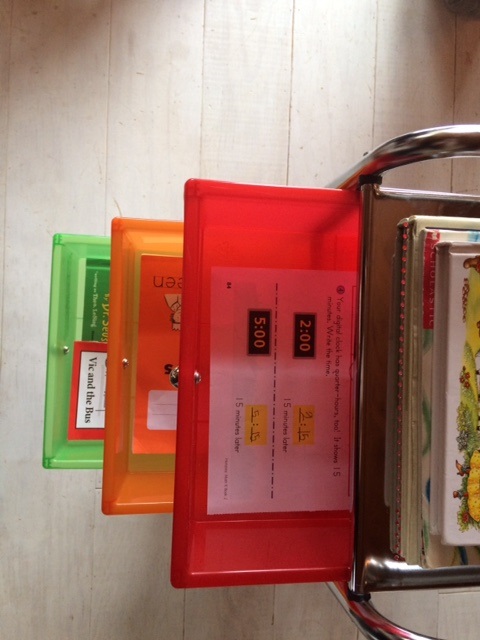
One of the things that is so nice about homeschooling, is that it gives kids responsibility and independence. It goes a long way for your sanity when they know exactly what they have to get done, aka…what is expected, and the knowledge that those things have to...
by IngridBarlow | Mar 16, 2015 | Uncategorized
This picture captures some of our day yesterday, Sunday. It gets me thinking on what makes Sabbath, a day of rest, for you and me. It could be so many different things… Stillness, playing in dirt, gathering eggs, snuggled in quilts, making fellowship together,...

by IngridBarlow | Mar 9, 2015 | Gardening, Uncategorized
This weather has my gardening fingers starting to twitch. I feel like I am a little on the late side of seed starting, even though I know I am probably not. A local nursery told me that they plant tomato seeds on March 17th, so that is what I have been using as my...
by IngridBarlow | Mar 8, 2015 | Uncategorized
I recently got a Peep candle for my birthday. I loved the smell so I burned through it rather quickly. There was so much wax left in the container, that I decided to recycle it. That smell! I needed it to last longer!! Some easy steps–wick in jar, melt wax, pour...
by IngridBarlow | Dec 9, 2014 | Uncategorized
These days Instagram is where I am most active. {I blame the little people!!} I’m ingridbarlow over there! http://instagram.com/ingridbarlow